I love before and after versions of photos. I’m a firm believer that all photos need to be developed to their potential. Some images area easy, then they just fall into place with the default processing settings in your camera, or in your processing software. Other images seem to fight you every step of the way. You know what you want, you just have to coax the image into going there with you.
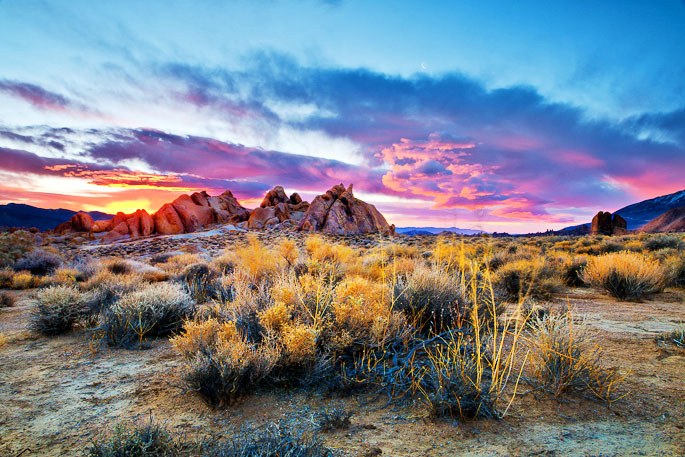
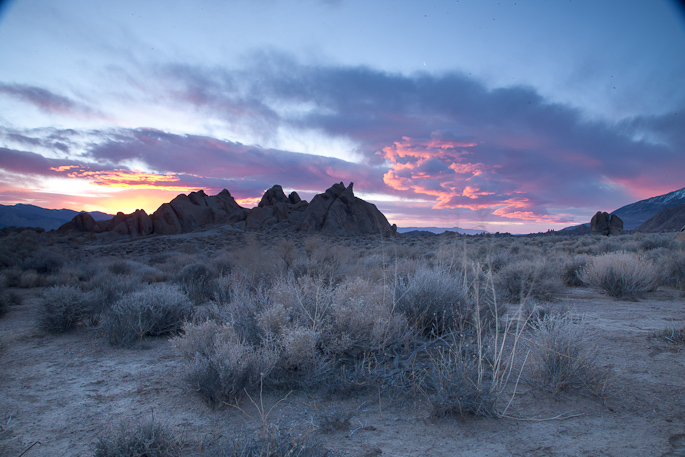
The photo below is a good illustration of how dramatically you can change a photo through post-processing. The original image right out of the camera (bottom photo, obviously) is dull and lifeless. Even with a 2-stop graduated neutral density filter to brighten the foreground, the contrast range in the image nearly exceeds the camera’s dynamic range. The camera recorded what it was able to see, but that sure wasn’t how the scene appeared to me.
The top photo is the result of about 45 minutes of work in Photoshop. I used a layer mask to be able to adjust the brightness and saturation of the foreground independent of the sky. That allowed me to boost the brightness and color saturation in the foreground without ruining the colors in the sky. You’ll notice little change in the pink clouds in the middle-right side of the image. I also spent a fair amount of time adding local contrast and color by hand to give the photo more texture.
You may or may not like my end result, and that’s OK. I’m not trying to convince you that my version is the best, or that it should be your favorite. The point is to illustrate the power of post processing to move an image so that it matches your vision.
You can see a before-and-after rollover version of the image here. Click on the link to open the image in a new browser window, then move you mouse pointer on and off the image to see it change.