Craig Stocks Arts Fine Art Photography and Artwork Duplication Services in Peoria and Central Illinois
April 8, 2011
See the companion video tutorial on YouTube.
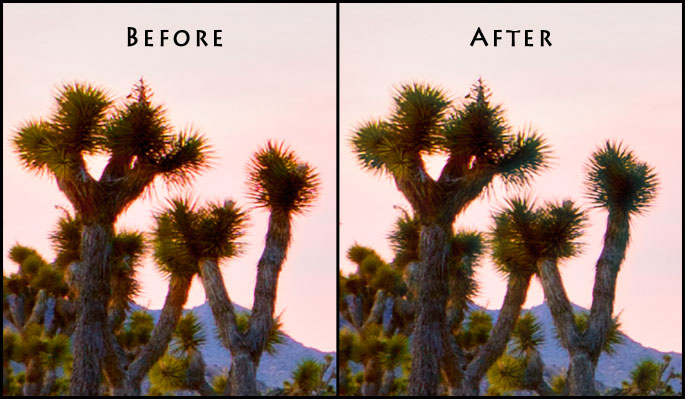
This is something I've stuggled with for years until I put together this process. The photo below shows a 100% detail of the image showing the colored fringe in the "Before" side.
While it looks a lot like chromatic aberration, it's not the same thing. When you look at the details in the channels pallet, the red channel is blown out where there should be details. I believe it's simple lens flare in a very localized area, but I'm not completely sure. Whatever it is though, Photoshop's lens correction / chromatic aberration correction processes won't fix it.
The process I'm using uses the green and blue channels that have pleny of detail. Then, it's just a matter of masking and painting in the corrections. Fortunately, the magic of the Apply Image command sets up the correction on its own layer, and you can paint in the correction with a wide, soft brush. No need to paint details.
Check out the video below for all the details.